
How to Use StoryScrib.ai
Setup Instructions
Follow these steps to get your StoryScrib.ai project set up:
Once you install StoryScrib, you should get a prompt for Accessibility settings.
Allow StoryScrib Accessibility Security permissions so it can access Scrivener text for the prompts.
If you receive an error when trying to run a command, please remove the Accessability permissions from Privacy and Security.
Create a Project
Start by creating a new project in the StoryScrib app interface.
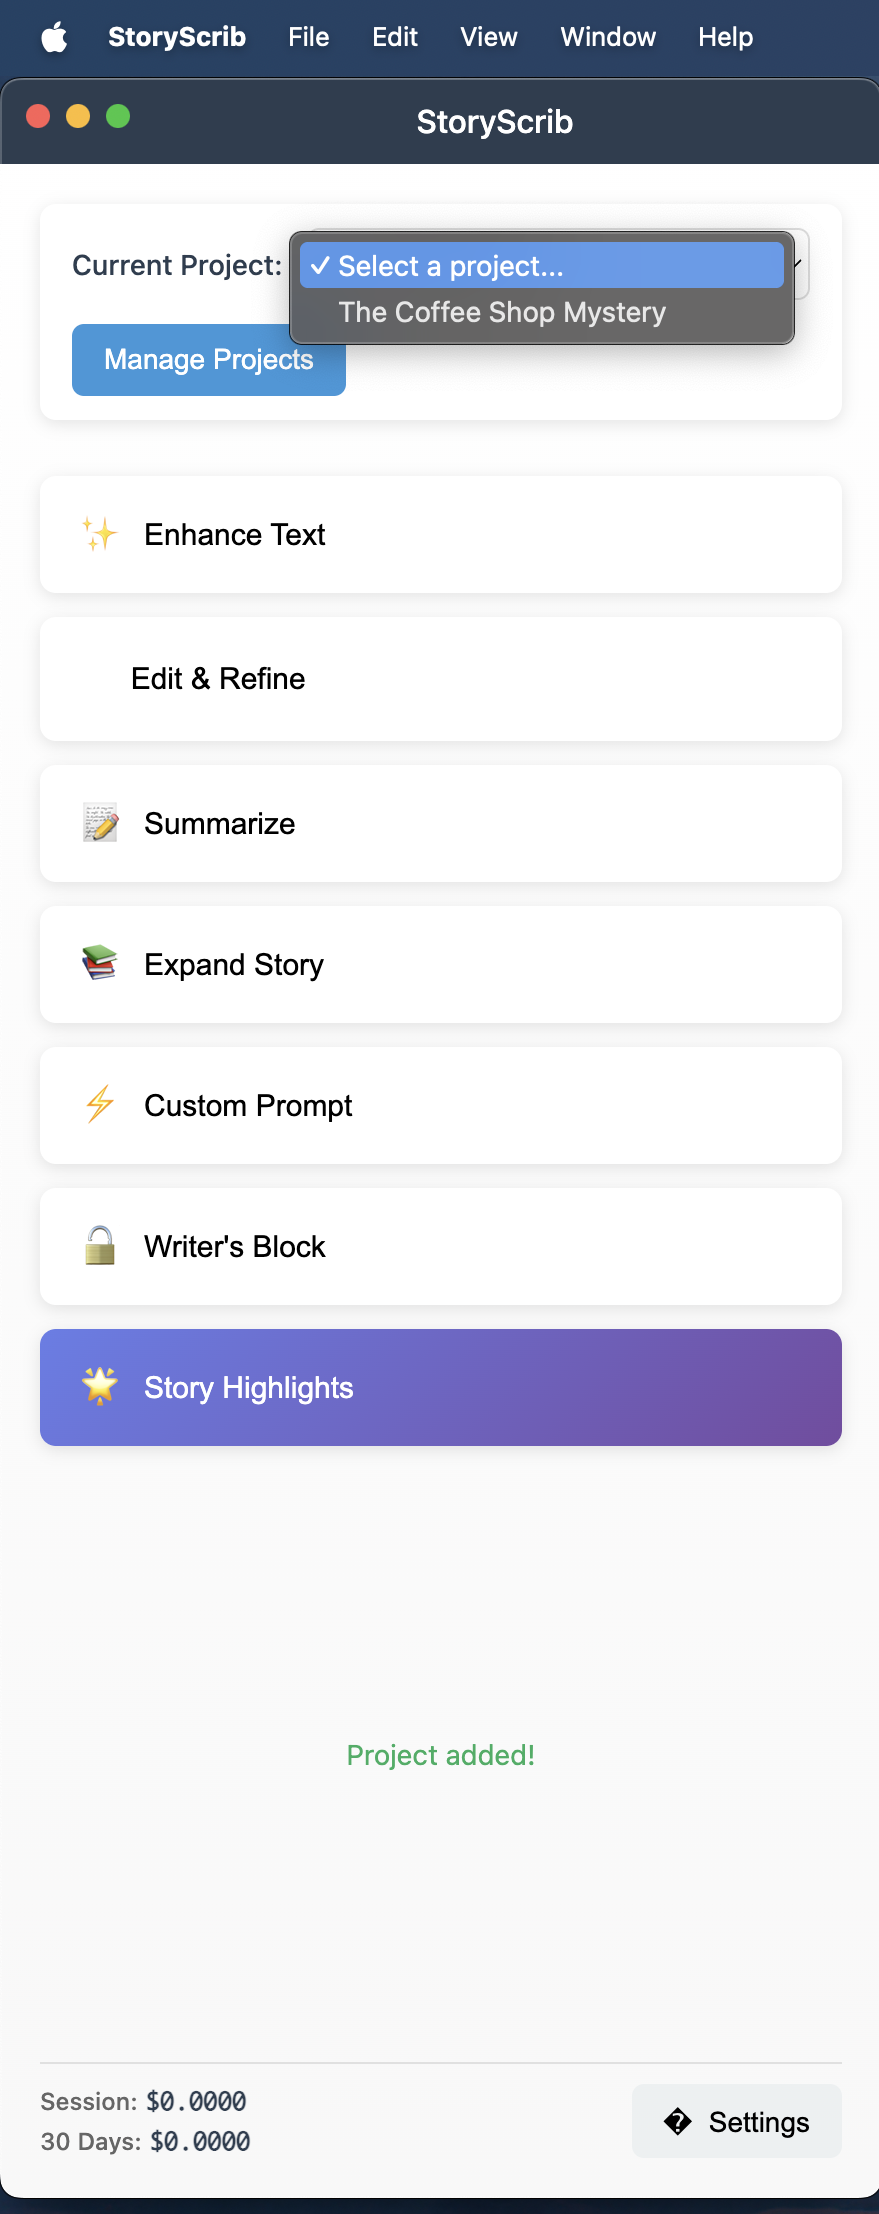
Select the Project
Choose the project you want to work on from the dropdown.
Paste Claude API Key
Go to Settings and paste your Claude API key from Anthropic Console. To add credits visit. Claude billing
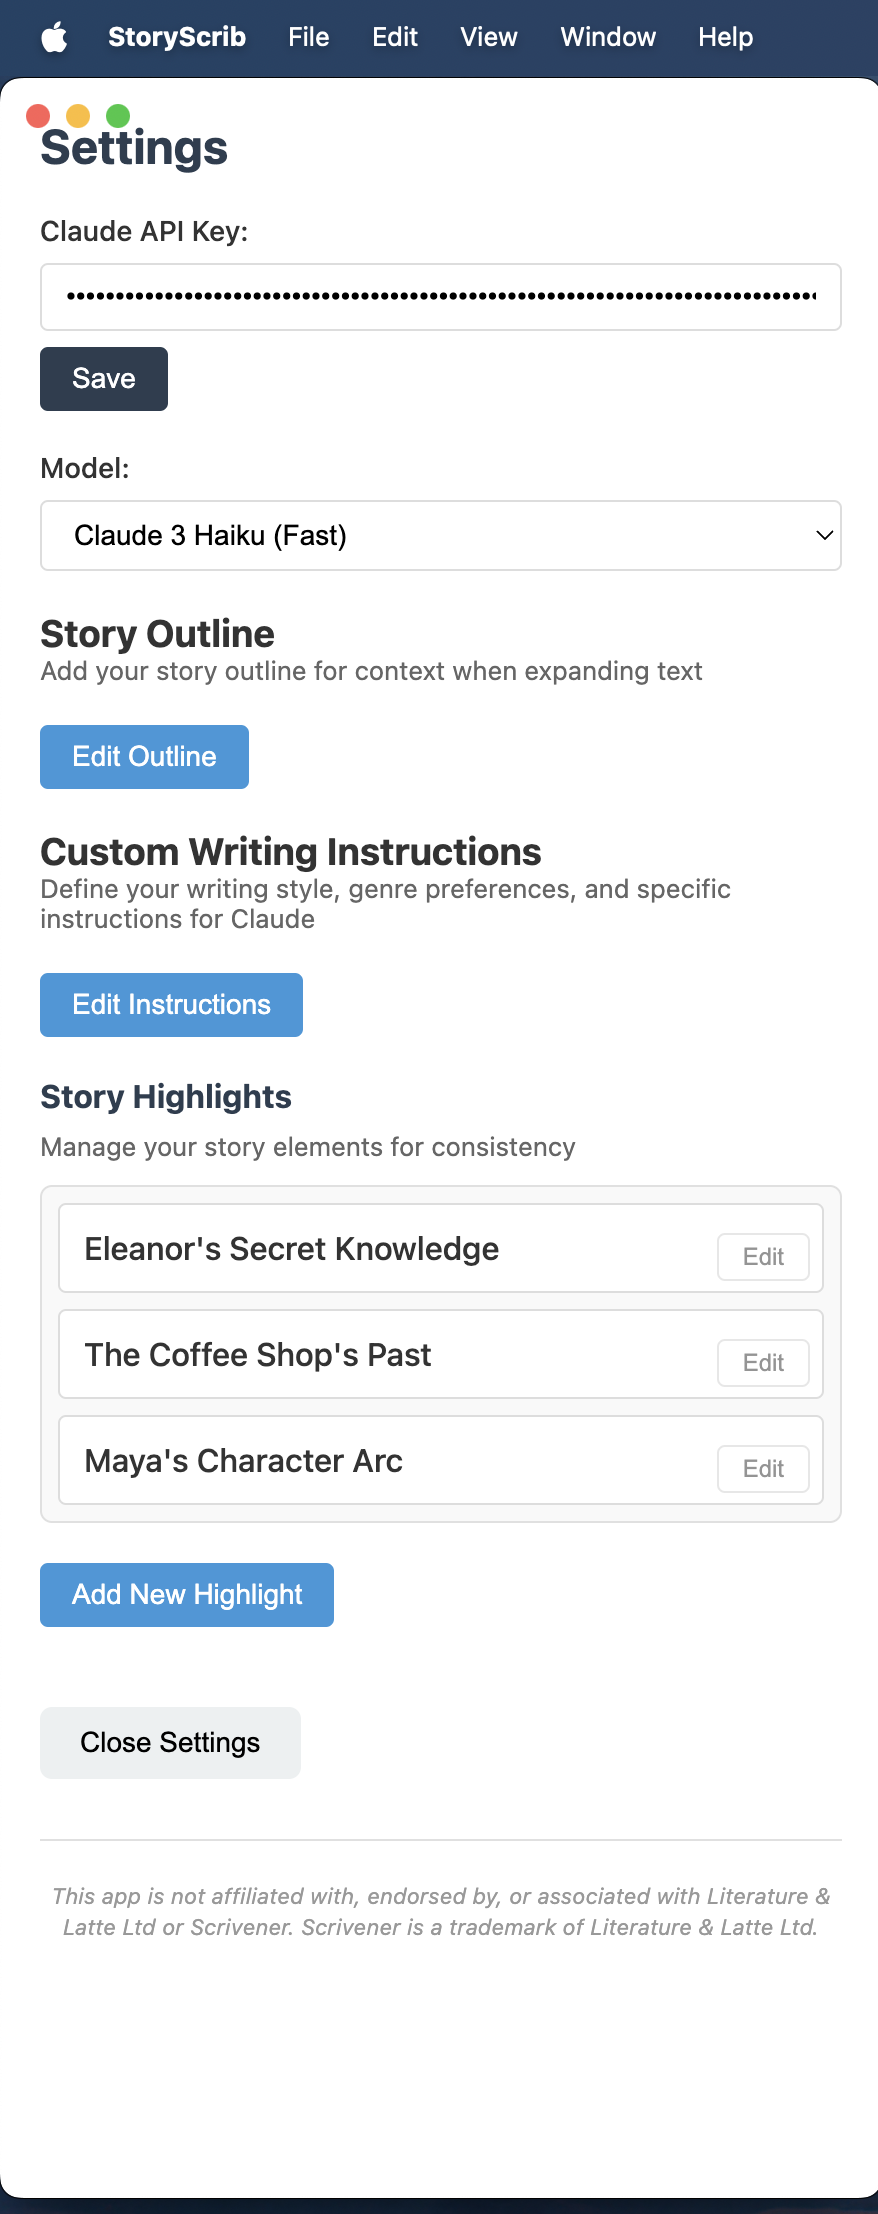
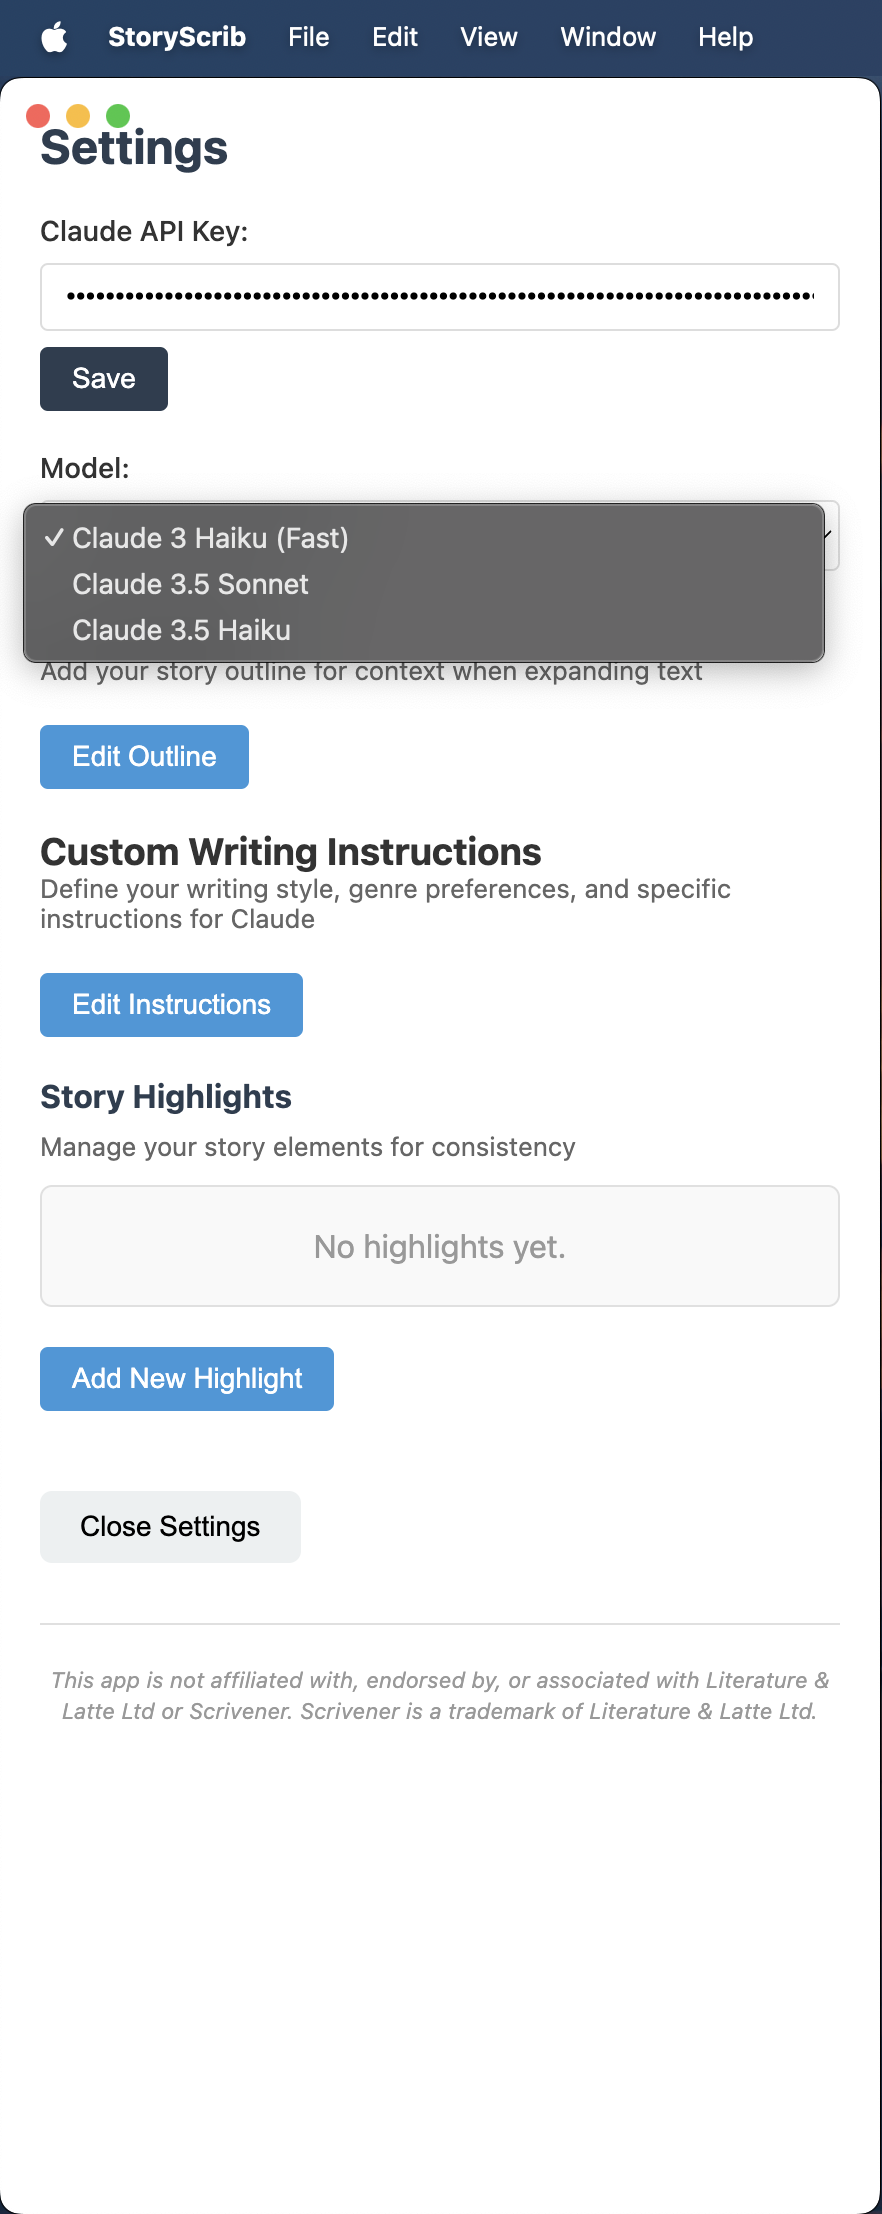
Choose a Claude Model
Select a Claude model that best fits your writing needs.
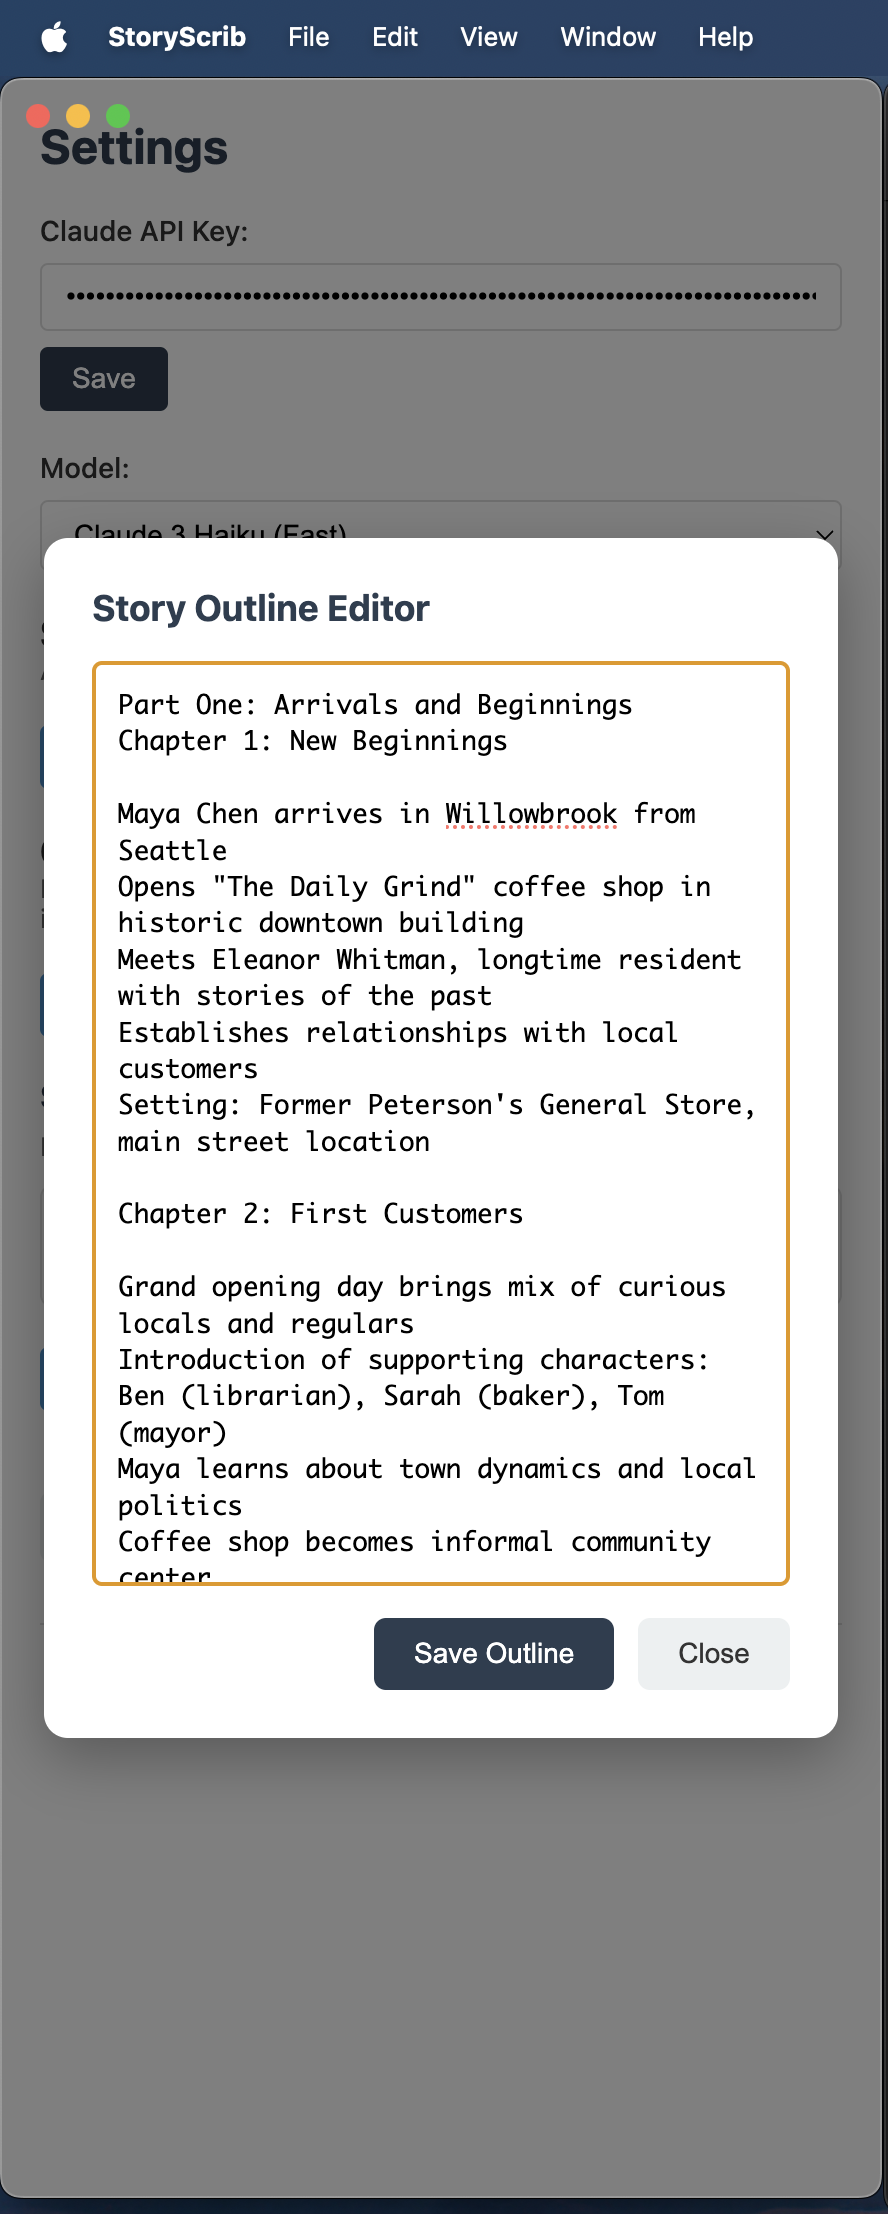
Add Your Story Outline
Provide a brief summary or full outline of your story for better suggestions.
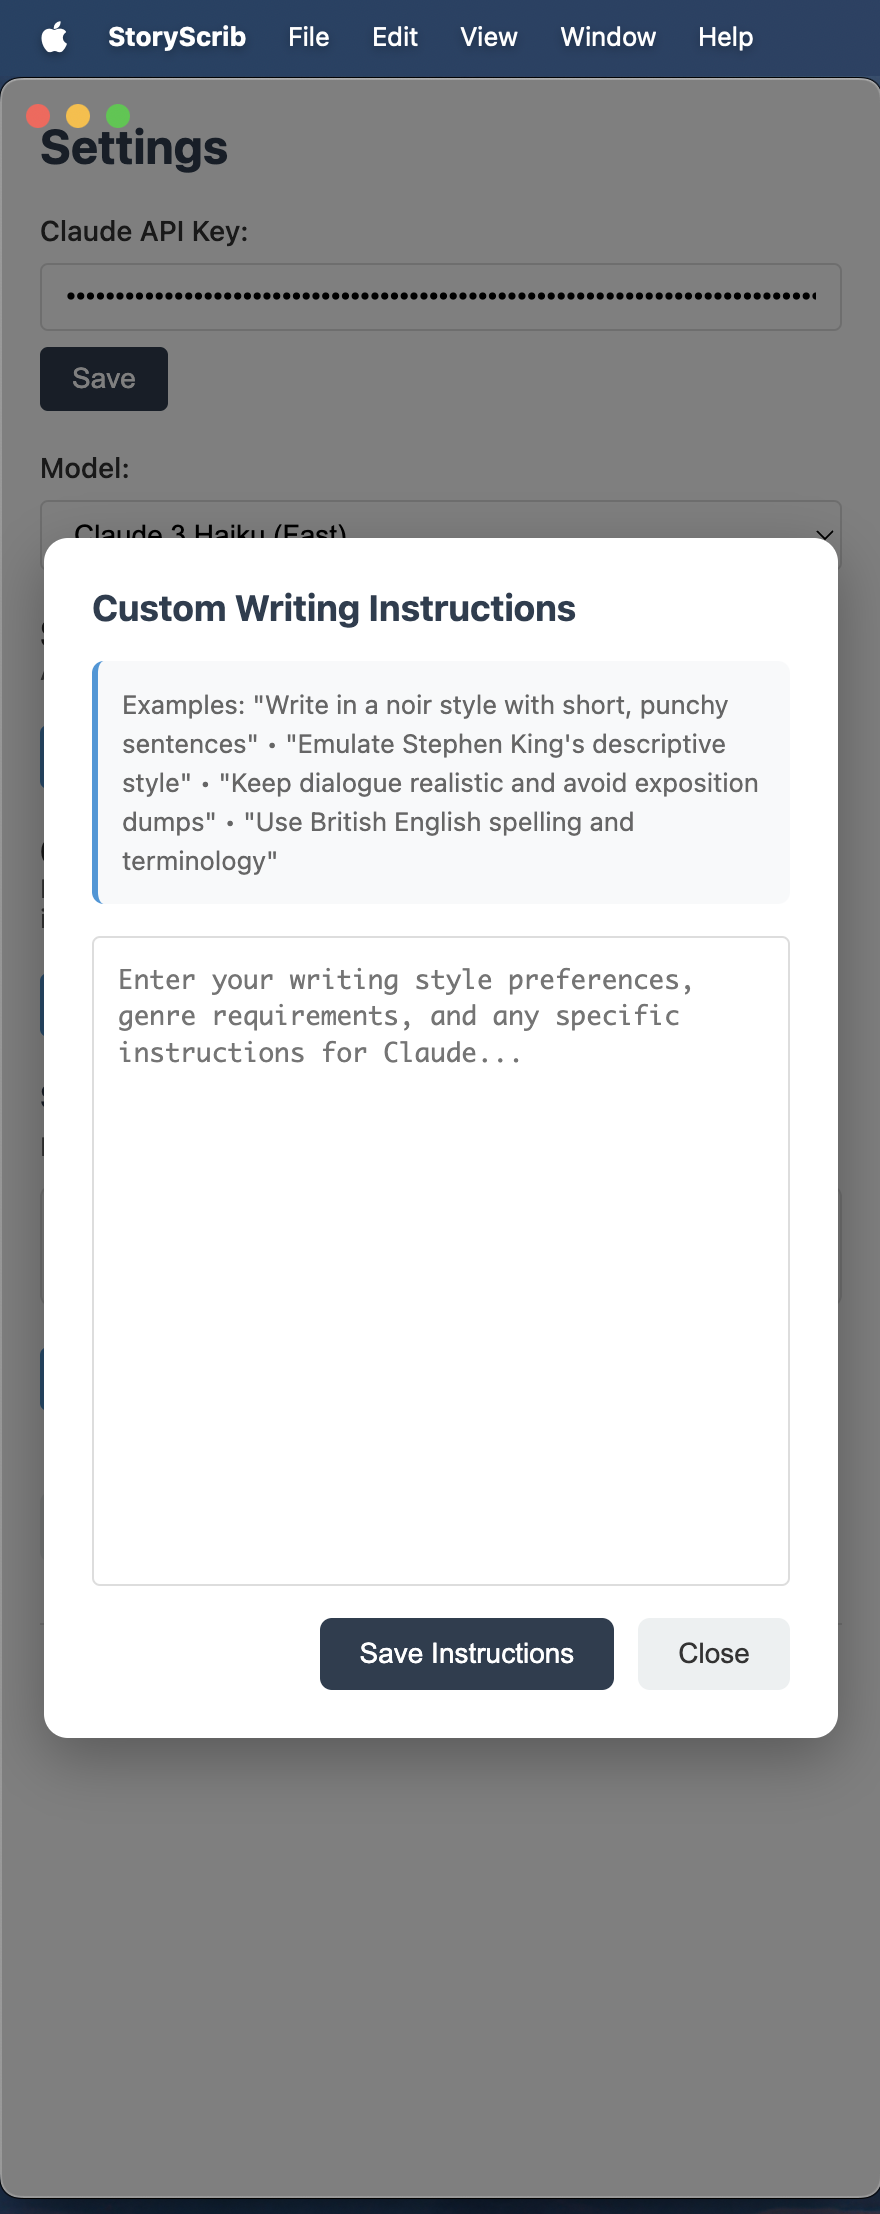
Add Custom Writing Instructions
Tell StoryScrib how you write—style, genre, etc.—so it can tailor suggestions.
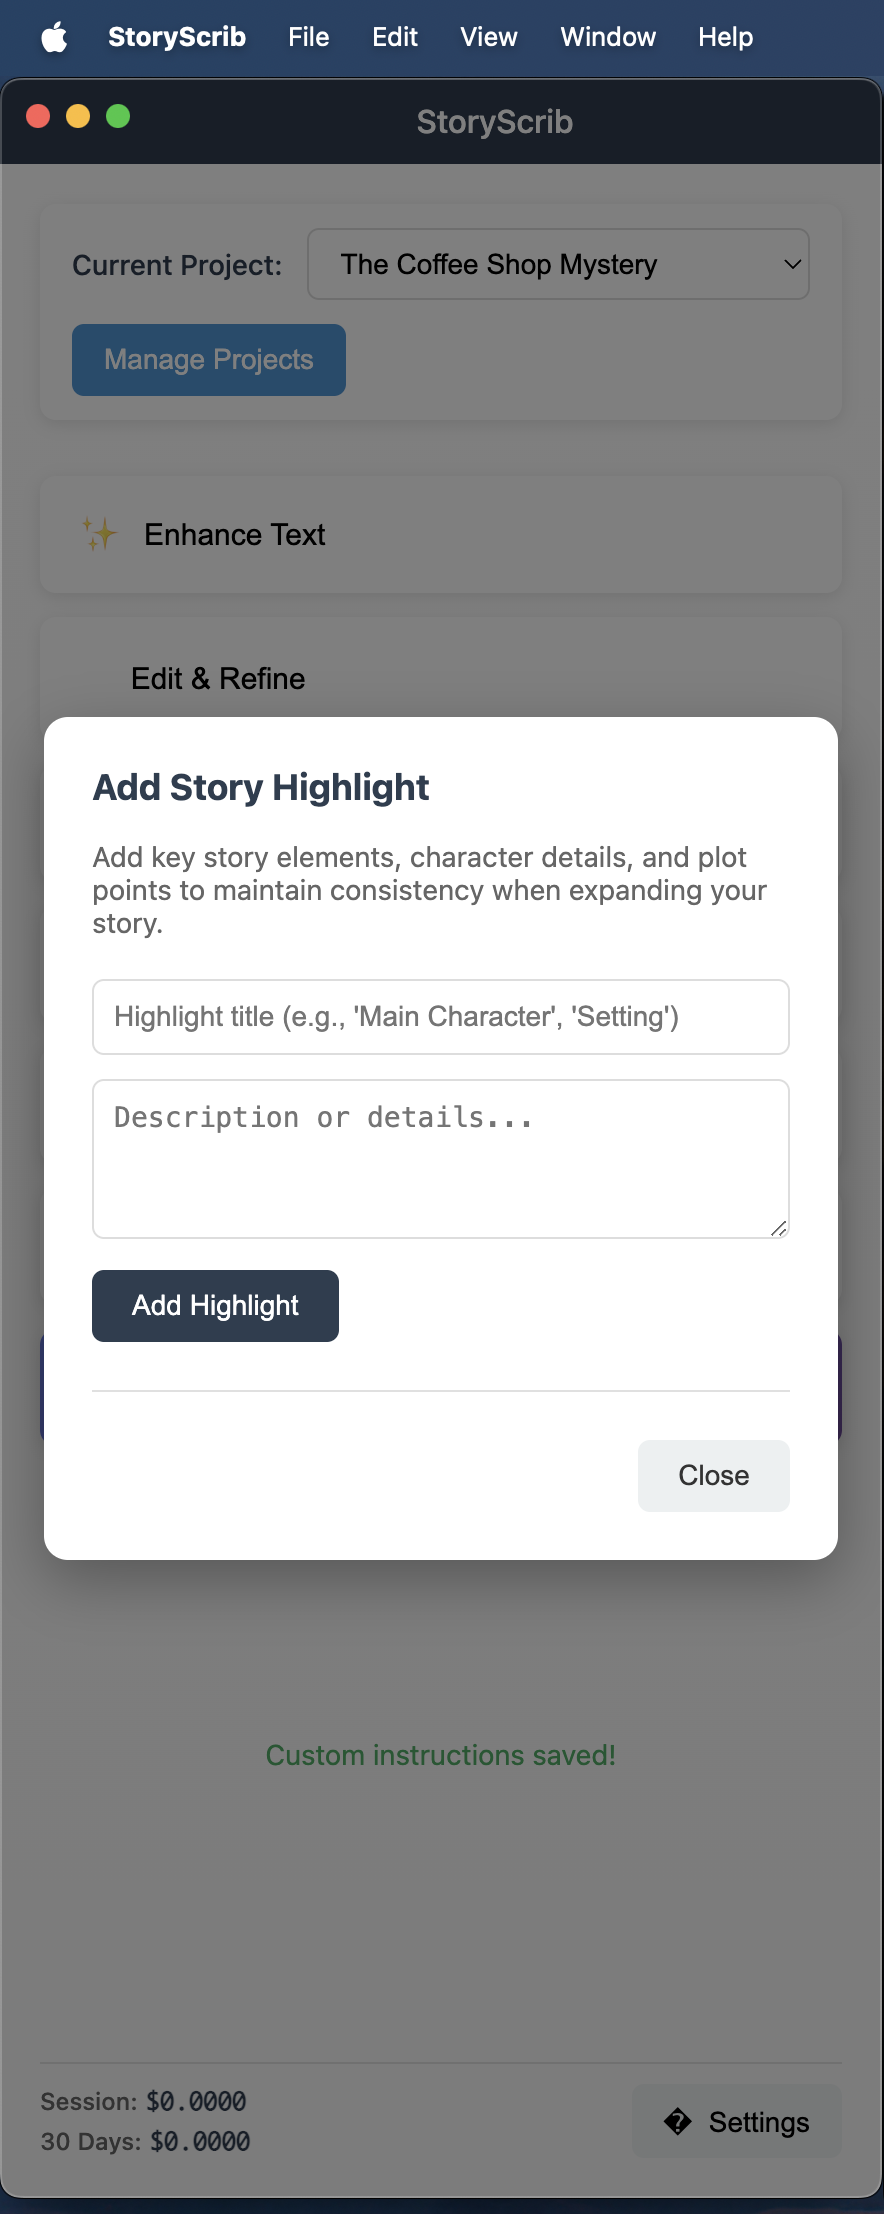
Define Story Highlights
Keep key character and plot elements consistent by adding story highlights.
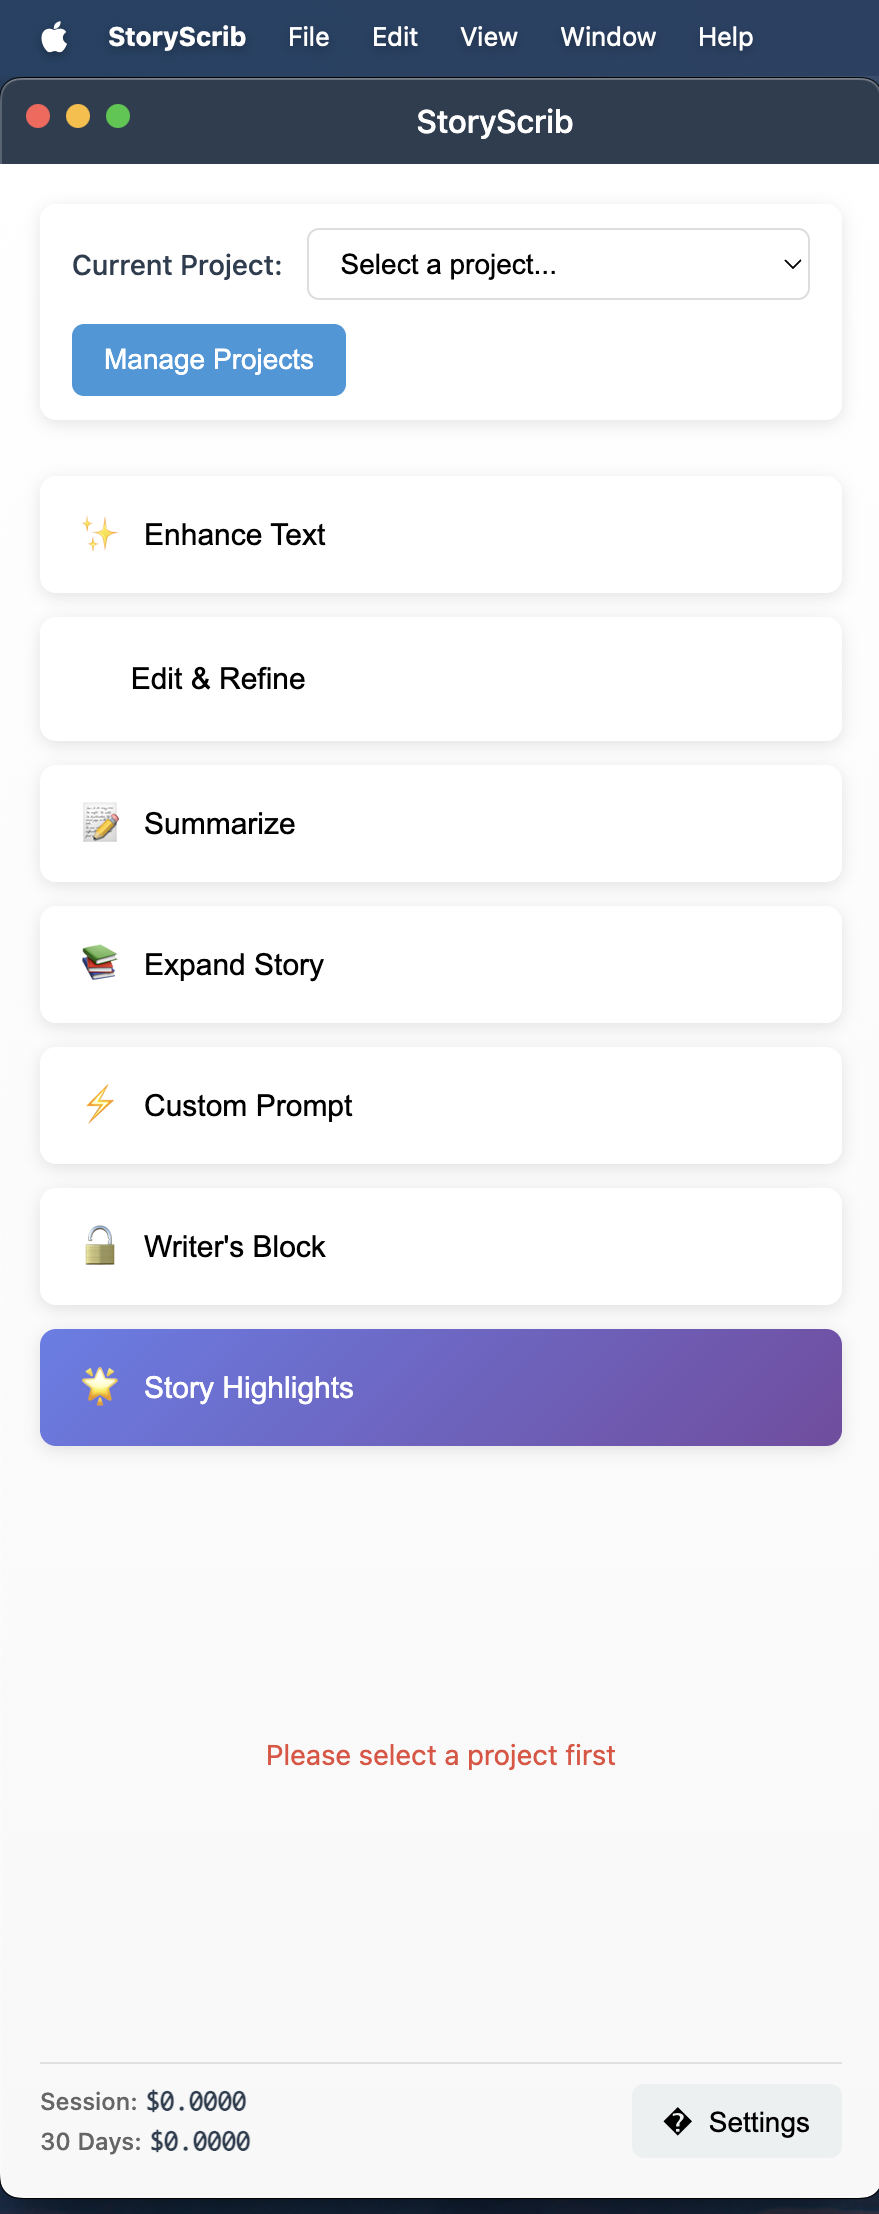
Use the Tools in Scrivener
Select any text in Scrivener and use the StoryScrib tools:
- Enhance Text: Polishes selected text to sound more professional.
- Edit & Refine: Allows you to give specific edit instructions for your selection.
- Summarize: Summarizes the selected text to help with clarity and focus.
- Expand Story: Adds more detail or depth to world-building, dialogue, or scenes.
- Custom Prompt: Enter your own prompt with or without selected text for creative support.
- Writer's Block: Analyzes your current project and generates helpful progress based on your input and project outline.
- Enter Text: Enter the text where your cursor is. If you want to generate a summary of your text, you can select your text, generate a summary, place your cursor in another document in Scrivener and paste it there. No need to copy and paste repeatedly.